This is the step by step guide on how to install and setup Ushuru PLus.
Step 1: Download Ushuru Plus
Download and install the latest version of Ushuru Plus from the link below.
Download link: https://mega.nz/folder/JQgAHTLC#kPTVwUIRphBHQ1H92zMj9g
Step 2: Set Up Required Folders
- Open Drive D: on your computer.
- Create a folder named
timswith the following subfolders:D:\tims\inD:\tims\outD:\tims\backup
Step 3: Share and Map the Folder
- Share the
timsFolder:- Right-click on the
D:\timsfolder and select Give access to > Specific people.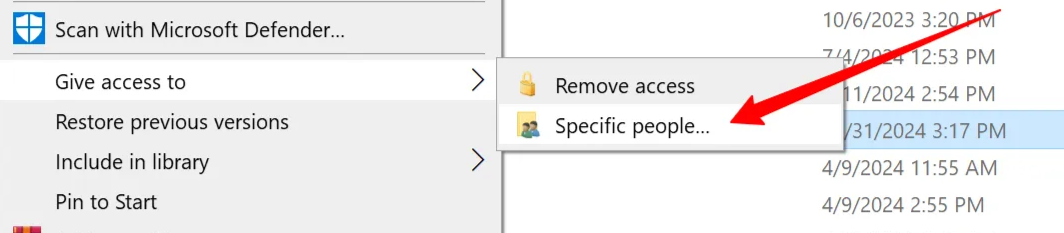
- In the sharing window, select Everyone from the dropdown, click Add, and change the permission level to Read/Write.
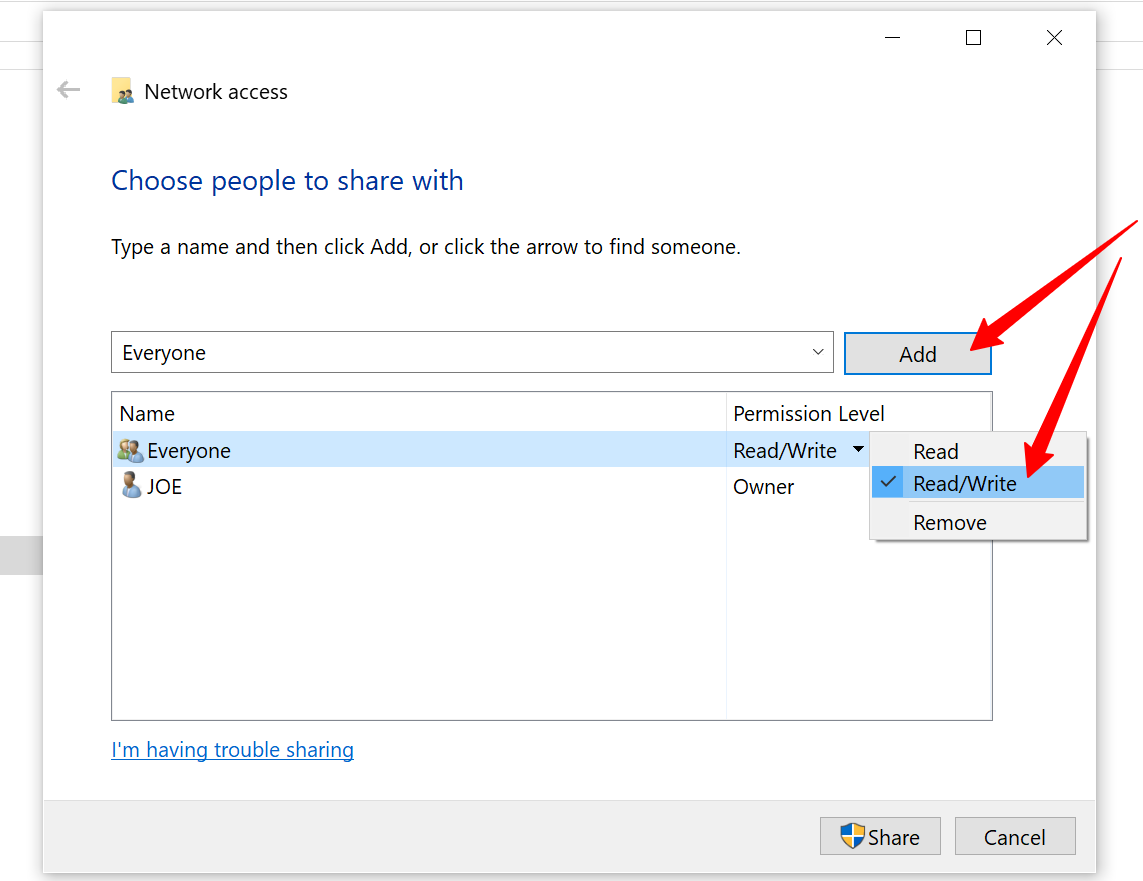
- Click Share and then Done in the next window.
- Right-click on the
- Map the Shared Folder to a Network Drive:
- Open File Explorer and click on Network in the left pane.
- Select your computer’s name to view shared folders.
- Right-click on the
timsfolder and select Map network drive…. - Choose the drive letter X: and click Finish.
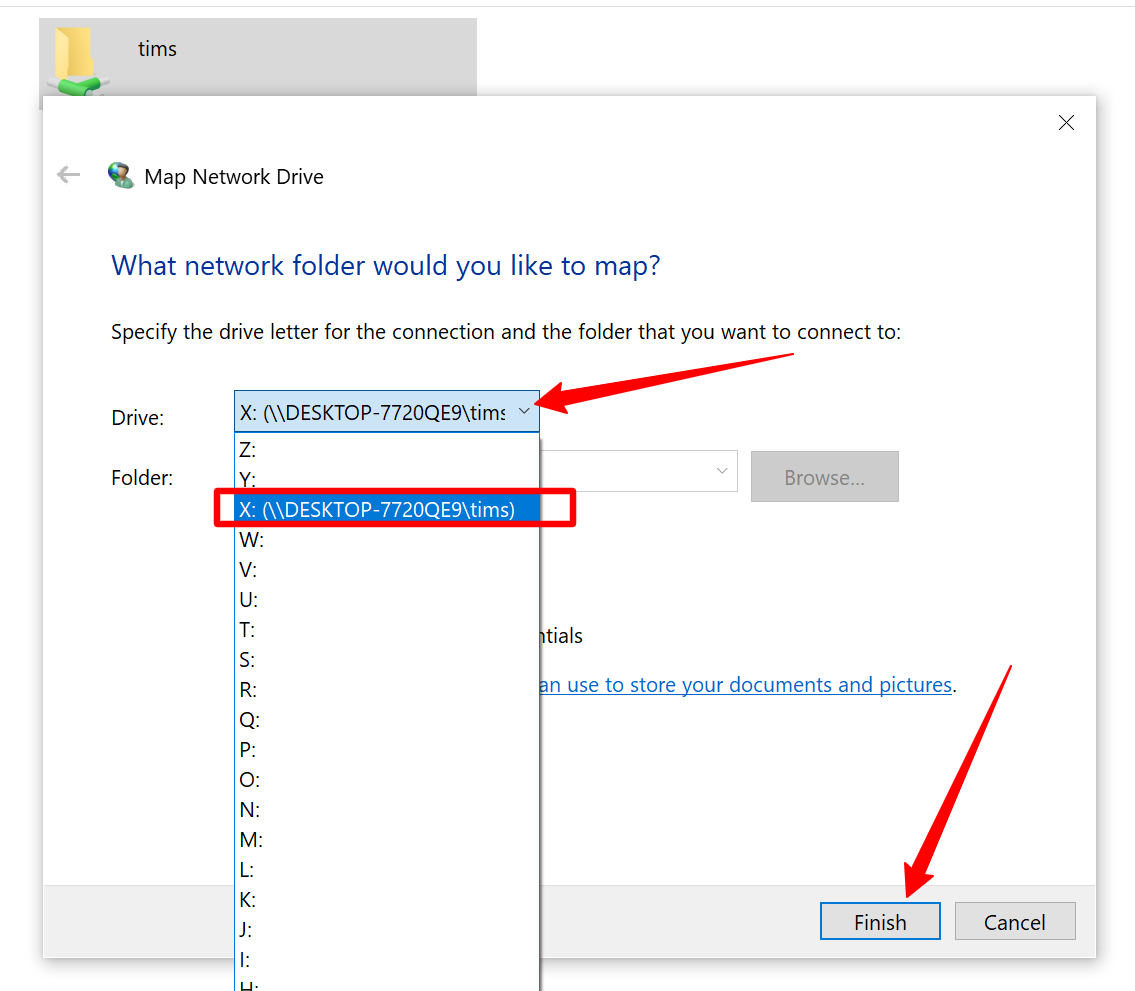
- The mapped folder will now appear under This PC in File Explorer.
Step 4: Configure Ushuru Plus
- Open the Ushuru Plus application.
- Click on the menu icon (three bars) at the top left and select Settings.
- Enter the following ESD Details:
(Please note that the ESD details used here were purposed for the documentation.)- Activation Code:
T3N***fL7 - Host:
https://api.totalvfd.co.tz - Bearer Token: [provided access token]
- Business Token: [provided business token]
- In:(This the path for your “in” subfolder in the tims folder)
X:\in - Out: (This the path for your “in” subfolder in the tims folder)
X:\out - Backup: (This the path for your “in” subfolder in the tims folder)
X:\backup
- Activation Code:
- Save the configuration.
Step 5: Configure PawaPos ESD
- Open the PawaPos BO system and navigate to System > Settings.
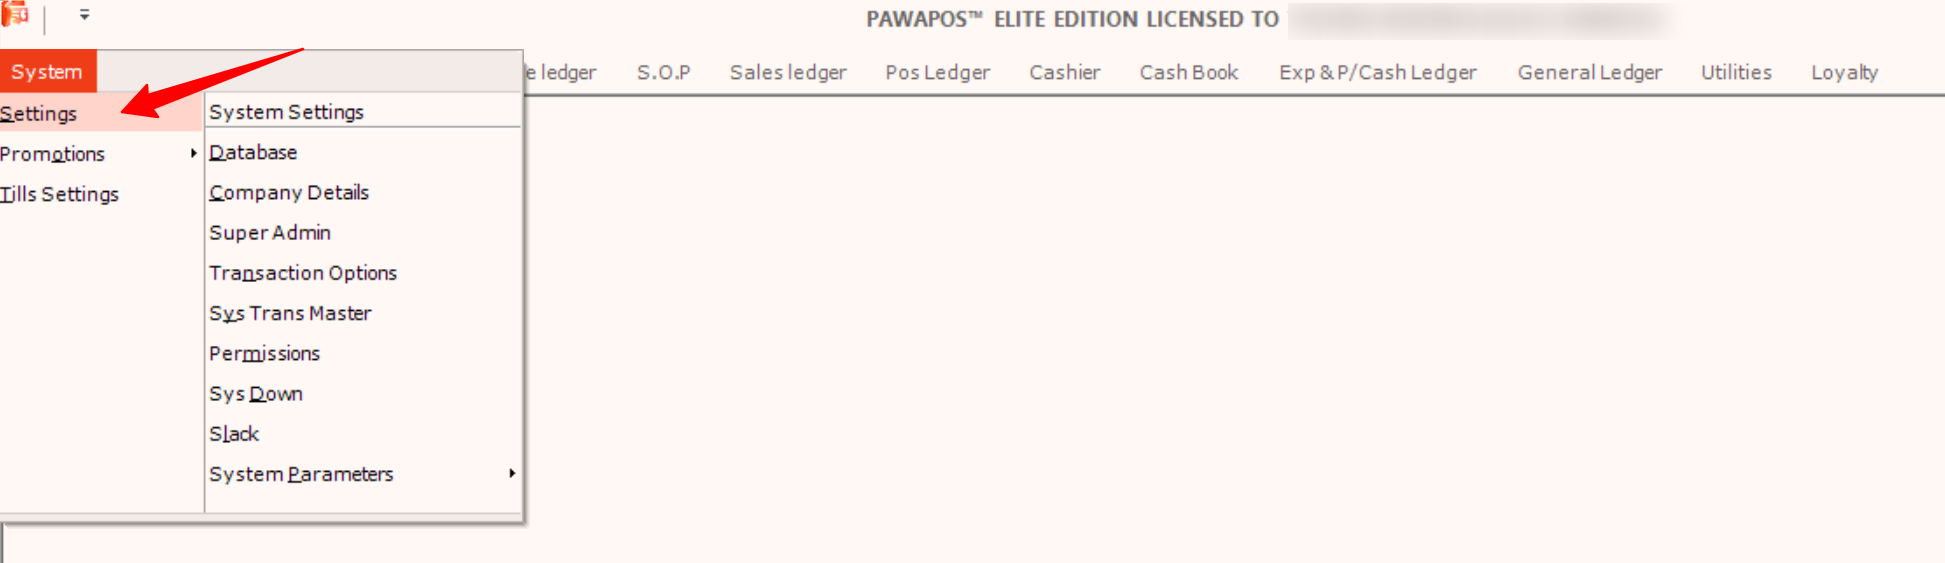
- In the search bar, type “
has_esd“ and locate the has_esd setting. - Fill in the following details:
- auto: Check the box to enable.
- last_number: Set the number of seconds to wait before retrying to sign an invoice.
- length: Specify the number of retries for signing receipts or invoices.
- pre:
X:\in\ - concat_table:
X:\out\ - notes: Specify your ESD type.
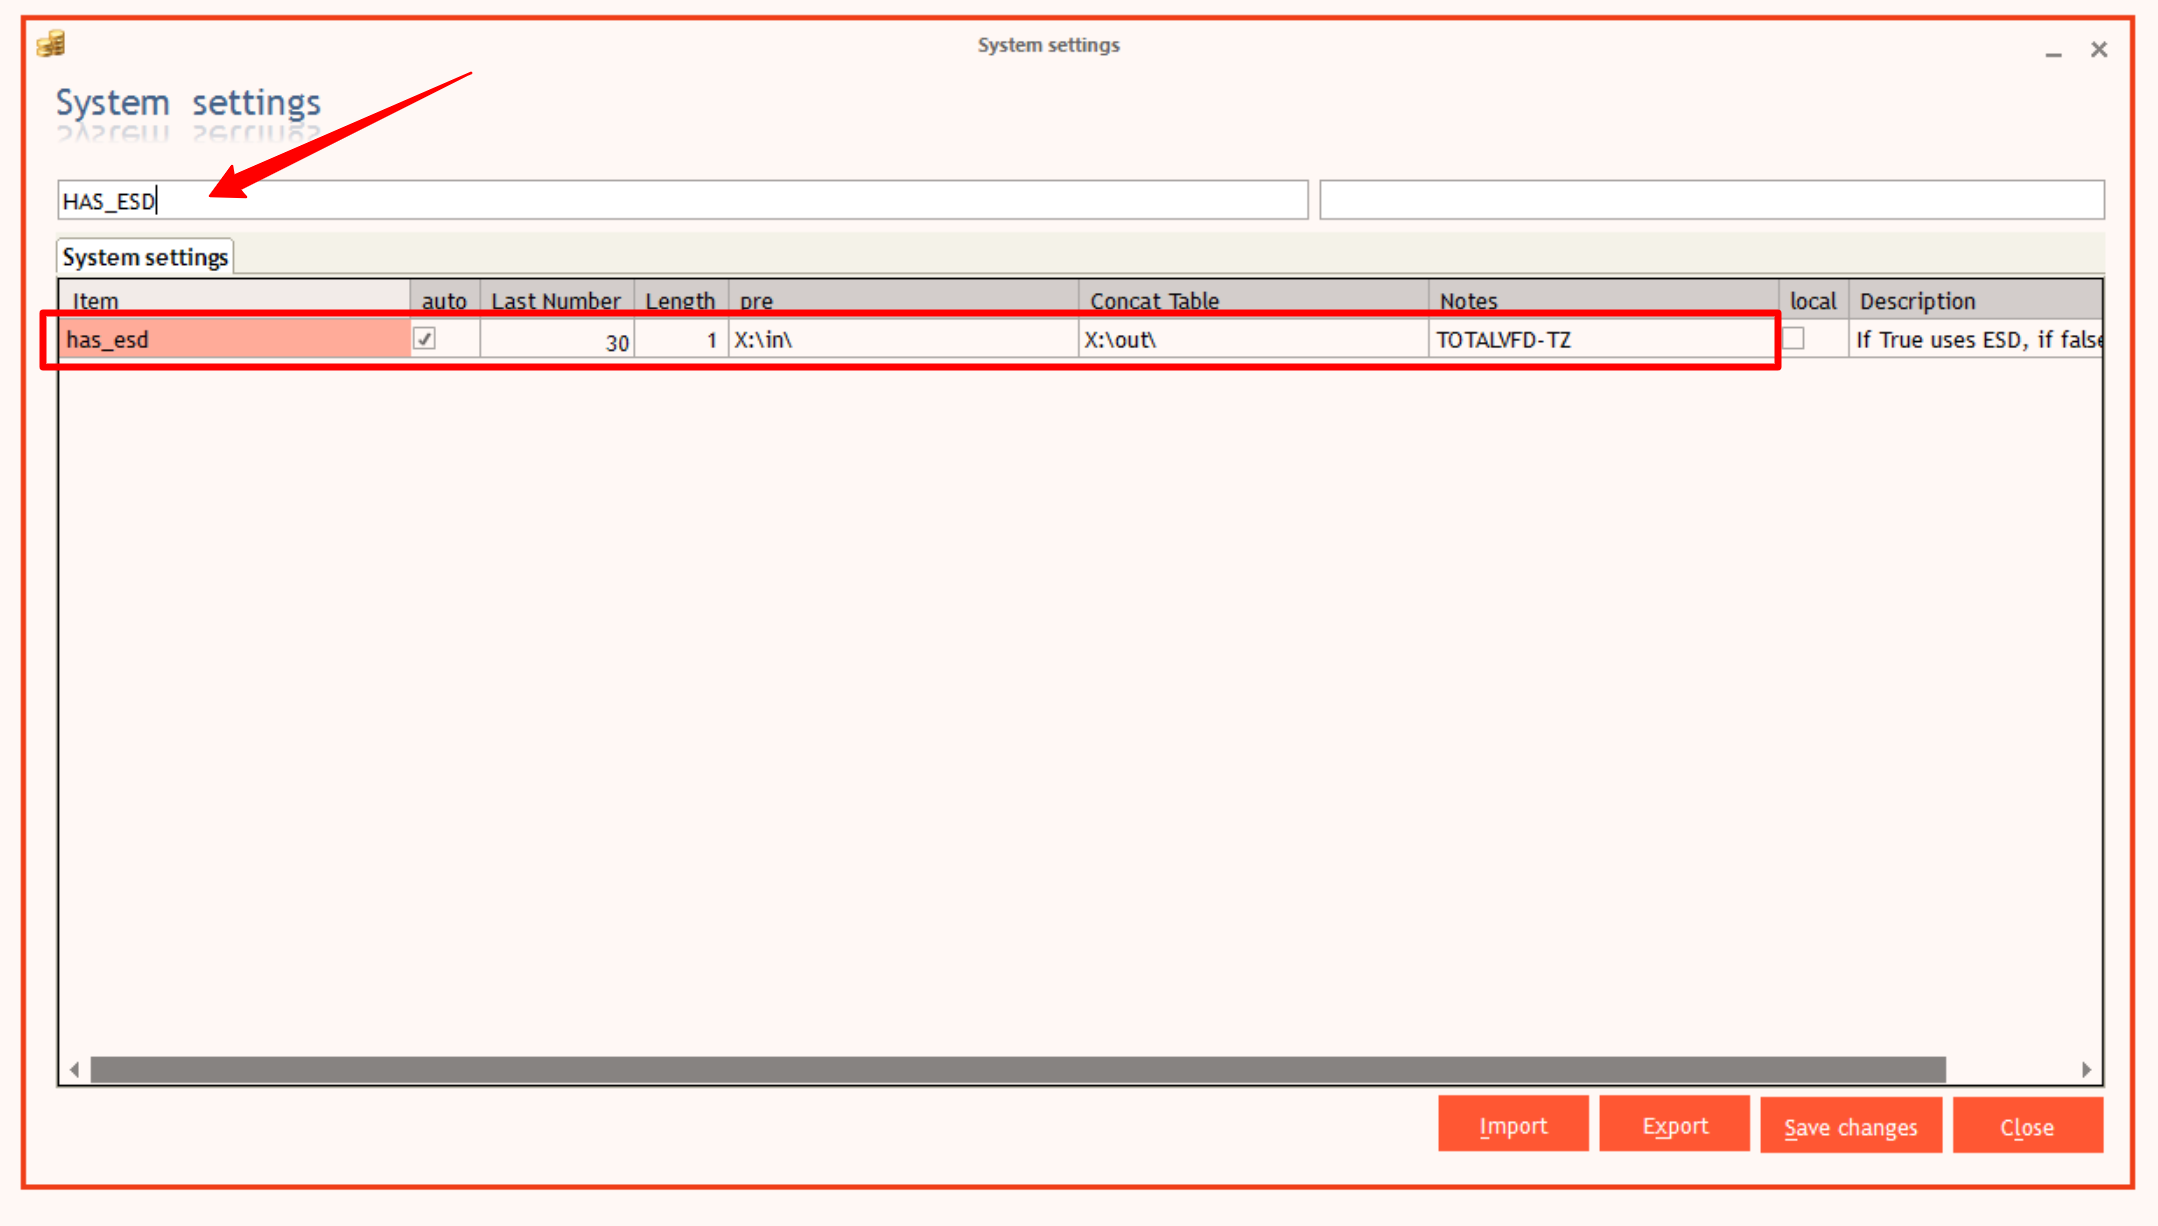
- Click on Save Changes to complete the setup process and test with a sample receipt from the sales screen (PawaPOS FO)
Control Options
- Start / Stop
- Clear Display Logs
- Clear Queue
- Open System Logs